


You must be logged into post a comment.
Devin's Tech Blog
A technology blog with How-To and Informational posts.
UniFi Wireless Controller on CentOS 6.8
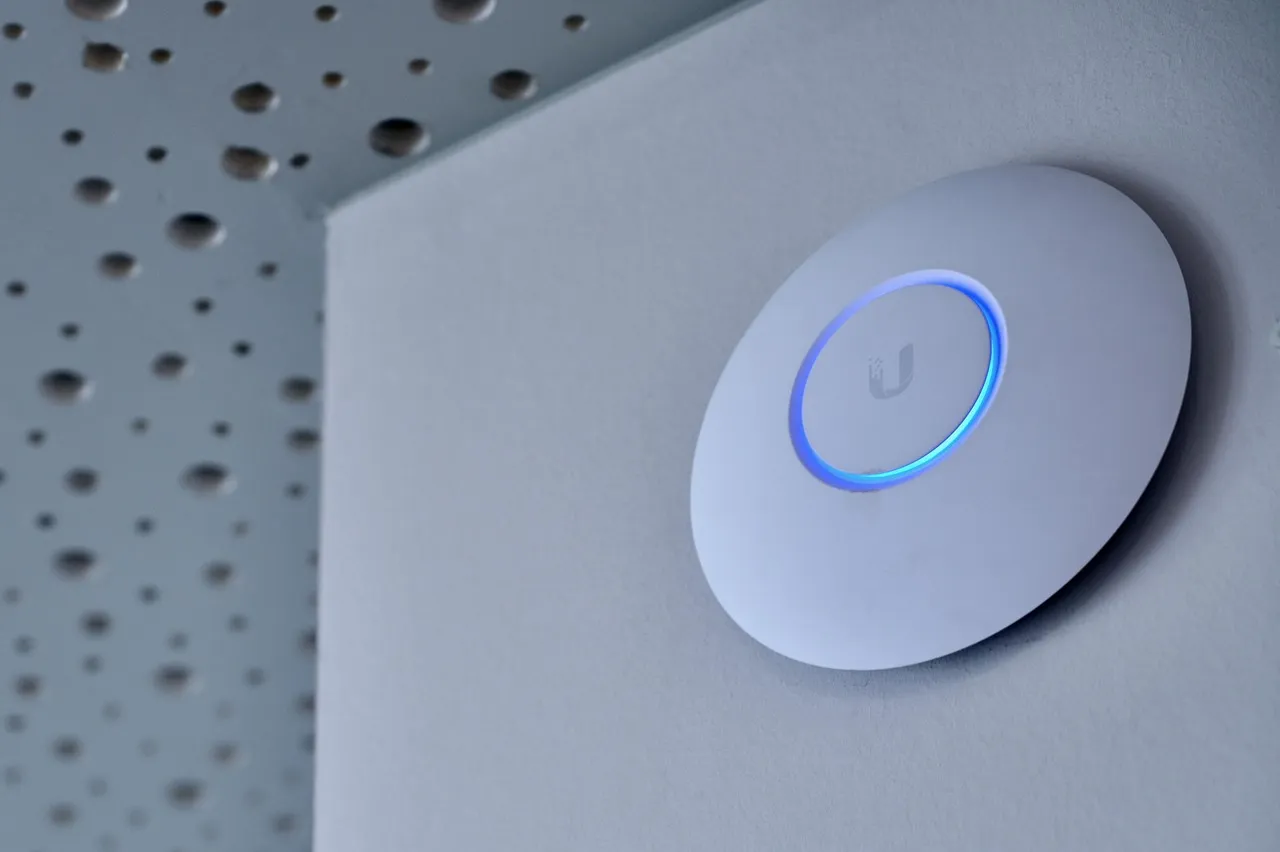
This post will describe the basic setup of Ubiquiti UniFi Wireless AccessPoint Controller software on CentOS. The UniFi controller software is designed to manage multiple Wireless Access Points sold by Ubiquiti Networks. These APs are super lightweight and run a very basic Linux CLI, by default they are only open to SSH for configuration, and they do not put out a WiFi signal. The APs grab an IP from DHCP and wait for a controller to “discover” them. Sometimes running a controller on the same VLAN or even in the same building as the Access Point itself isn’t ideal, so they offer options for running a cloud-based controller. This guide will walk you through configuring that cloud-based controller on a headless CentOS 6.8 server.
Before you start, make sure you don’t have any applications running on port 8443 on your server, you MUST use this port to install the software. After installation you can change the port, so stopping other applications on port 8443 temporarily is fine.
Prerequisites
Your server MUST have 35GB of free space in order to install the database software. If your server meets this requirement, retrieve the latest updates for your CentOS server:
yum update -y
Reboot if you see fit or if there was a kernel upgrade, then continue to install the other dependencies:
yum -y install wget unzip php httpd
Set Apache to start at boot and start it now:
chkconfig httpd on


service httpd start
Install the Database
UniFi uses the mongodb database, you will need to add a repository to retrieve the database software. You can also install mongodb by downloading the mongodb and mongodb-server packages and their dependencies. Alternatively if you don’t mind using their repository which lacks gpgcheck and ssl you can follow these steps.
Adding the Repository
Create the .repo file with nano or your favorite text editor:
nano /etc/yum.repos.d/mongodb.repo
Add the following contents:
[mongodb]


name=MongoDB Repository


baseurl=http://downloads-distro.mongodb.org/repo/redhat/os/x86_64/


gpgcheck=0


enabled=1
Install MongoDB
Run this command to install MongoDB and its necessary packages:
yum install -y mongodb-org-2.6.1 mongodb-org-server-2.6.1 mongodb-org-shell-2.6.1 mongodb-org-mongos-2.6.1 mongodb-org-tools-2.6.1
Then start the database server, and set it to start at boot time:
service mongod start


chkconfig mongod on
Install Java Runtime Environment
You will need to install the latest jre for CentOS, at this time it is Version 8 Update 91, you can get the latest version from: Java’s Download Page
You are looking for “Linux x64 RPM” it should give you a file named something like: jre-8u91-linux-x64.rpm. When you find it, right-click on it and copy the link and use wget to download the file.
wget <paste link here>
When you have the file on your computer, the following command will install Java:
rpm ivh jre-8u91-linux-x64.rpm
Remember your filename could be different than mine if a newer version of Java has been released since this post.
Install the UniFi Controller Software
Download the latest version of the UniFi software, you may need to find the appropriate version for your appliaction, but here is the one I used:
wget http://www.ubnt.com/downloads/unifi/5.0.7/UniFi.unix.zip
Unzip it and stick it in /opt:
unzip -q UniFi.unix.zip -d /opt
Find where your mongod is installed and link it:
find / -name mongod


ln -fs /usr/bin/mongod mongod
Now we create an init script so it is easy to start and stop the UniFi software:
nano /etc/rc.d/init.d/unifi
Add the following contents:
#!/bin/bash


# chkconfig: 2345 95 20


# description: UniFi system


# processname: UniFi


ctrl_start()


{


java -jar /opt/UniFi/lib/ace.jar start &


}


ctrl_stop()


{


java -jar /opt/UniFi/lib/ace.jar stop &


}


ctrl_restart()


{


ctrl_stop


sleep 1


ctrl_start


}


case "$1" in


start)


echo -n "starting UniFi system"


ctrl_start


echo " service started"


;;


stop)


echo -n "stopping UniFi system"


ctrl_stop


echo " service stopped"


;;


restart)


echo -n "restarting UniFi system"


ctrl_restart


echo "service restarted"


;;


*)


echo "usage: service UniFi {start|stop|restart}"


;;


esac


exit 0
Then make it executable, start it, and make it start at boot time:
chmod +x /etc/init.d/unifi


service unifi start


chkconfig unifi on
It usually gives me a little warning about stack guard, but it still works. If it tells you that a port is being used, you need to stop the other process until you change the port for UniFi, also the UniFi software will not start unless ALL the ports are available.
Configure your Firewall
The APs need to be able to communicate with your server on ports 8080, 8081, 8880, and 8843.
The Web interfaces is on port 8443. If your server is behind a firewall, you will want to forward all these ports to the server.
Below are the rules to add to “/etc/sysconfig/iptables”, I commented out the ones that the website lists that I dont think are 100% necessary to allow. I haven’t had any problems running the software with these ports blocked. Your specific model of the Access Points and your configuration may be different.
#-A INPUT -m state --state NEW -m tcp -p tcp --dport 80 -j ACCEPT


-A INPUT -m state --state NEW -m tcp -p tcp --dport 8081 -j ACCEPT


-A INPUT -m state --state NEW -m tcp -p tcp --dport 8080 -j ACCEPT


-A INPUT -m state --state NEW -m tcp -p tcp --dport 8443 -j ACCEPT


-A INPUT -m state --state NEW -m tcp -p tcp --dport 8843 -j ACCEPT


-A INPUT -m state --state NEW -m tcp -p tcp --dport 8880 -j ACCEPT


#-A INPUT -m state --state NEW -m tcp -p tcp --dport 27117 -j ACCEPT
Restart iptables to apply the new settings:
service iptables restart
Verify it is working
You should be able to go through the setup wizard now at: https://xxx.xxx.xxx.xxx:8443/
After you go through the initial setup wizard you can change the ports it listens on. If you change the listening ports, don’t forget to update iptables.
Changing the Listening Ports
The UniFi software listens on several ports, you may need to use different ports for security reasons, or if another application is using the port. This is how you do it. REMEMBER: This process will NOT work until after you walk through the initial setup. HINT: Just turn off your other applications on the port when you are doing the setup.
Current Port Configuration
By default, the UniFi controller will operate on the following ports:
unifi.http.port=8080 (port for UAP to inform controller)
unifi.https.port=8443 (port for controller GUI / API, as seen in web browser)
portal.http.port=8880 (port for HTTP portal redirect)
portal.https.port=8843 (port for HTTPS portal redirect)
unifi.db.port=27117 (local-bound port for DB server)
Note: In version 4.5.2 and later, users can also define the port assigned to STUN services, for scenarios where two or more separate UniFi instances are desired on the same controller machine.
unifi.stun.port=3478 # UDP port used for STUN
Note: Since v3.2.9+ and v4.6.0+, two more ports are being reserved for device redirector. There is no need to open firewall for these ports on controller, however, on controller, avoid to use these ports.
port 8881 for redirector port for wireless clients
port 8882 for redirector port for wired clients
Changing Ports
NOTE: You can ONLY change the ports after you finish the initial setup wizard.
First stop unifi:
service unifi stop
Edit the configuration file:
nano /opt/UniFi/data/system.properties
Example:
Here is an example of how the configuration file would look if you moved the web interface from port 8443 to port 8444:
## system.properties


#


# each unifi instance requires a set of ports:


#


# unifi.http.port=8080     # device inform


# unifi.https.port=8443    # controller UI / API


# portal.http.port=8880    # portal redirect port for HTTP


# portal.https.port=8843   # portal redirect port for HTTPs


# unifi.db.port=27117      # local-bound port for DB server


# unifi.stun.port=3478     # UDP port used for STUN


#


# system_ip=a.b.c.d        # the IP devices should be talking to for inform


# unifi.db.nojournal=false # disable mongodb journaling


# unifi.db.extraargs       # extra mongod args


#


## HTTPS options


# unifi.https.ciphers=TLS_RSA_WITH_AES_256_CBC_SHA,TLS_RSA_WITH_AES_128_CBC_SHA


# unifi.https.sslEnabledProtocols=TLSv1,SSLv2Hello


#


# Ports reserved for device redirector. There is no need to open


# firewall for these ports on controller, however do NOT set


# controller to use these ports.


#


# portal.redirector.port=8881


# portal.redirector.port.wired=8882


#


#Fri Jun 24 17:44:20 UTC 2016


is_default=false


unifi.https.port=8444


uuid=ab78bffe-72ce-4b4e-9086-64a00c7447f2
DO NOT place any spaces, comments, or other characters after any of the custom lines!! The controller will ignore your customizations if you do.
Start unifi again:
service unifi start
Configuring the Access Points
The controller will discover any Access Points on the same network it lives on, but if you want to run a cloud solution, you need the Access Points to report to the controller. Follow these steps on all APs that are to be deployed, if they are left with DHCP for their IP they will report back to the controller wherever they are as long as they have internet access.
Connect the AP
Connect the AP to your LAN and use your DHCP server to find it’s IP address, then start an SSH session to the AP.
The Default username and password for the AP is: ubnt/ubnt
I’m not sure if this is really necessary, but the site says you need to be running the same firmware on the controller as the AP. Here is a site to check that and make update the firmware if your not: Upgrading UAP firmware over SSH
I have never needed to do this, I was always able to let them join the Controller and then push the firmware upgrade from there.
Configuration
Once you connect to the AP, if its not at factory defaults, run this command to reset it:
mca-cli
Then once in the Config CLI run the following command replacing “ip-of-controller” with either your server’s IP address or the DNS name. Keep in mind that if you use DNS, the site you deploy the AP to will need to hand out DNS with it’s DHCP.
set-inform http://ip-of-controller:8080/inform
As long as the communication is open and ports are allowed, you should now see an Access Point available to “Adopt” into the controller. (Remember to “Adopt” the device as the “site” you want it to be part of. You can change it later, its just easier to do it now.)
If it doesn’t appear, check your communications and ports and simply run the command again to try again.
Adopting
You need to click “Adopt” to add the AP to your controller. NOTE: at this time, the controller location you set will NOT be saved. Until the AP is fully managed by the controller this will not be saved!
When you click “Adopt” it will take awhile to do anything and then it looks like it will have failed saying “disconnected” as the AP’s status. This is normal you only need to run the command again:
set-inform http://ip-of-controller:8080/inform
This time you it will show up and be “provisioned” which involves another reboot of the AP. Once its done provisioning, the IP of the controller will be set until you either change it or the device gets reset. You can configure everything from here on with the web console.